For several years my photo editing workflow went something like this:
Take a picture, RAW+JPEG.
Plug SD card into my PC.
Import it into Lightroom Classic CC, lossless conversion to DNG.
Occasionally LR backs up its catalog.
Windows File History backs them up to my NAS.
A script backs them up to LTO-4 tapes.
I’ll browse through my catalog and flag the ones I think are good enough to edit.
I apply the LR auto adjustments and tweak them a little to see how far I get.
Now I can start cropping, editing, correcting and applying filters with the Nik collection.
The finished product is then exported to Google Drive and then shared to to social media.
If I’m not home I don’t have a proper workflow, meaning I often create redundant backups or have difficulties finding specific pictures.
This comes with a few problems:
It’s pretty darn complicated. I wish I could cut out a few layers of complexity.
I have to use proprietary software that doesn’t run well under Linux, so I can only use this workflow when I’m at home.
It costs quite a bit of money. Even with a student discount, LR Classic CC costs at minimum 12€ per month.
Lightroom performance is horrible. Lightroom CC is lacking basic features and I don’t want to upload everything to the cloud.
I use hardly any Adobe specific features. Automatic lens corrections aren’t that important, I can live without the Nik collection.
I solved some of my issues with the following workflow:
Regardless of whether I’m at home or travelling with my linux laptop, I’m now using Darktable with the “local copies feature” to avoid redundant backups.
I’m keeping the “two tier” storage system. All photos in their raw form are at some point imported through darktable into my central NAS, but all finished pictures are stored on my Google Drive. This means I can always access my most important data quickly even if it comes from outside my main workflow (e.g. edited on my phone…).
The actual editing can take place in Darktable, RawTherapee, Snapseed or Lightroom Mobile. If I’m on a computer the data will still go through Darktable and then to my NAS and also be exported to Google Drive, otherwise it will directly go to the Drive.
I avoid the cost of Adobe products. The initial migration to this new workflow was pretty quick, and now 99% of the time I can use one path for everything.
The actual editing results for me are comparable to what I could achieve with Lightroom.
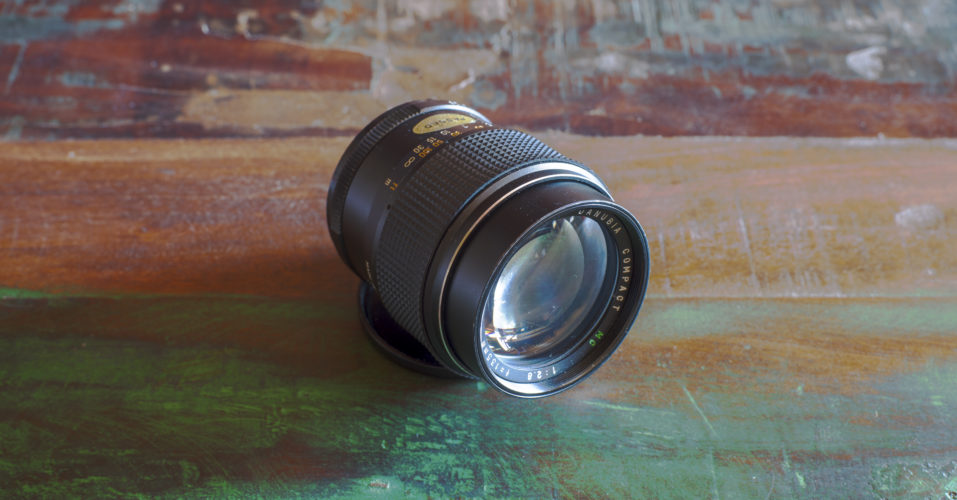
Today I’ll take a look at the cheapest 135mm lens I could find: The Auto Danubia Compact 135mm f/2.8. Let’s see if it is worth considering if you are on a budget.
Build
All metal lens, the front cap is metal as well. The rear cap is not original.In person, the glass has a visible but seemingly cheap coating.
The lens is made of all metal and glass, except for the rubber focus ring appears to be disconnected from the body. While it fits snugly around the barrel, it can simply be taken off. There is an imprint, that claims that the lens is made in Japan. It is a rather short lens for its focal length. It feels moderate in weight for its size. The glass has a green-shimmering coating.
My copy came with a metal front cap. It didn’t come with a rear cap, so I 3D-printed one. It has an integrated lens hood which loosely slides in and out when the front cap is removed, but it can be fixed in its extended position by turning it a little.
The focus ring is smooth and the aperture ring is clicky. Both feel reasonably well.
My lens has a sticker claiming it was made in 1982. It comes with an M42 screw-mount which you can adapt to most modern systems, as long as you don’t mind fully manual controls.
Image quality
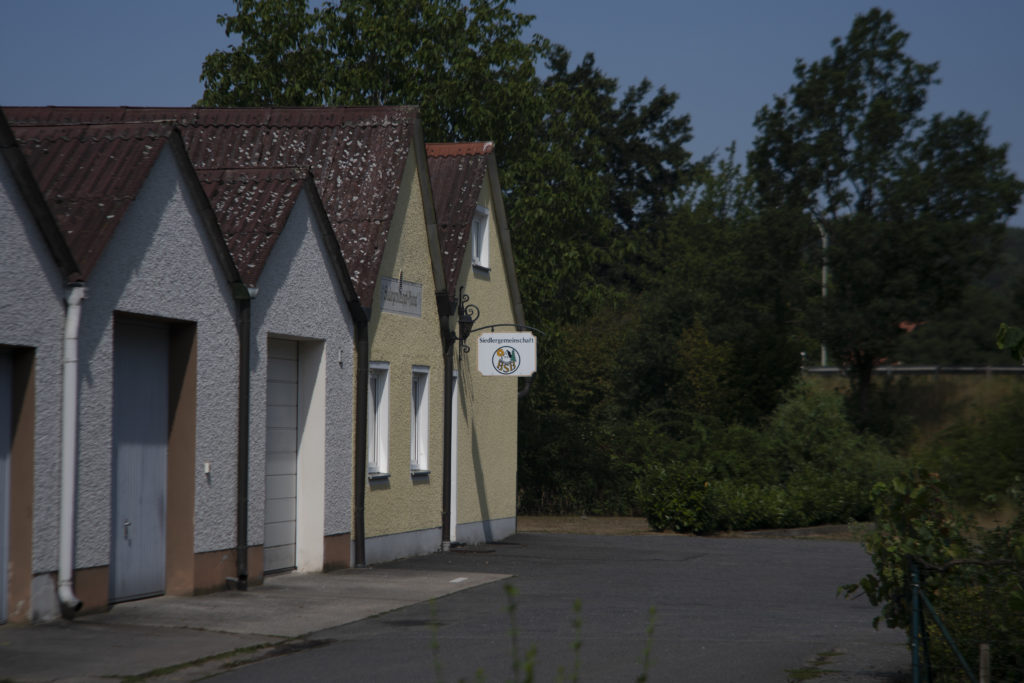
Overall image quality is rather poor, unless you stop down a lot. In this gallery I gradually stop down. Trust me, I focused correctly. This is really it:
f/16 is a little softer due to diffraction.f/11 is sharp.f/8 is better.f/5.6 still blurry. f/4 is still very bad.f/2.8 looks like there’s butter on the lens
All Photos taken with my Sony A7R II.
The sweet spot at a distance for this lens is at an impressive f/11.
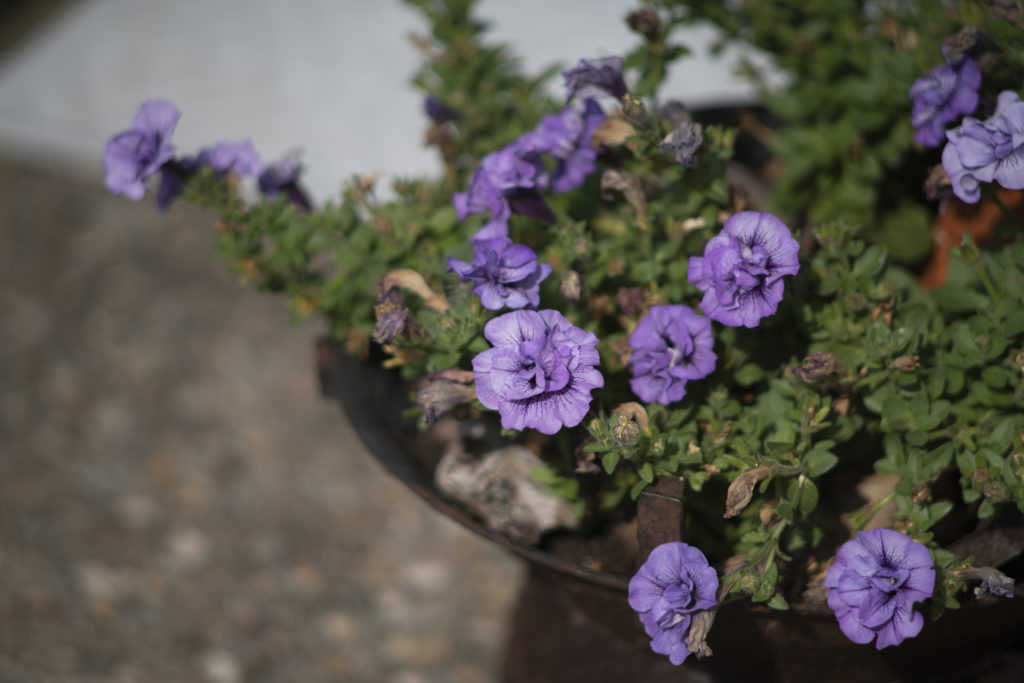
You CAN get fairly sharp pictures wide open, but only at the closest focusing distance (which by the way is at a fairly long 1.5m):
This lens is capable of sharp “close ups”.Another close up.Contrast is below average.
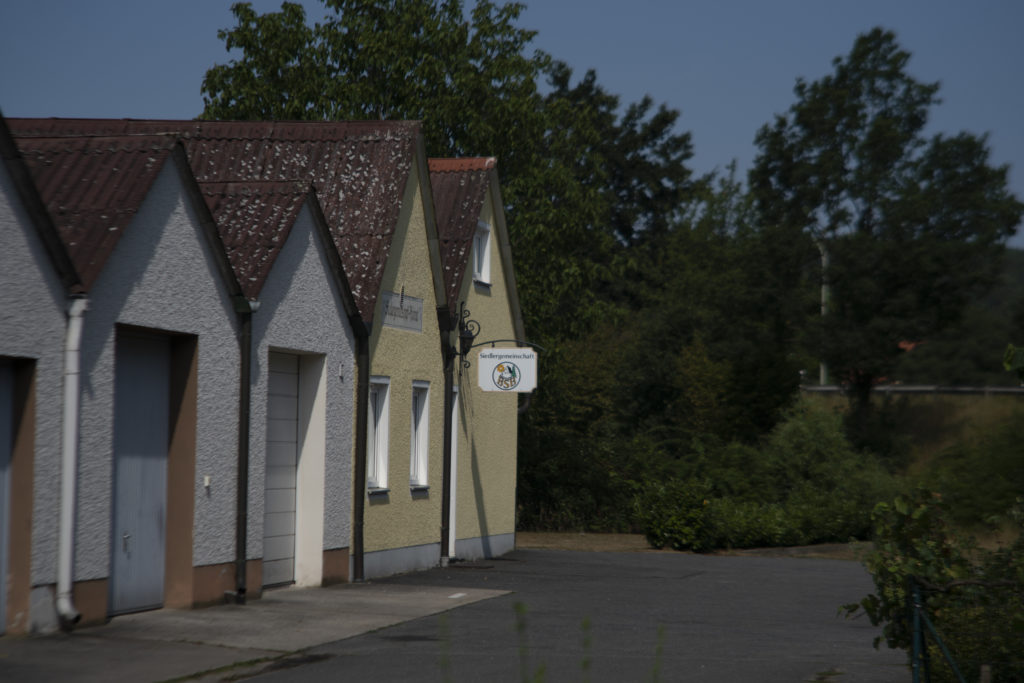
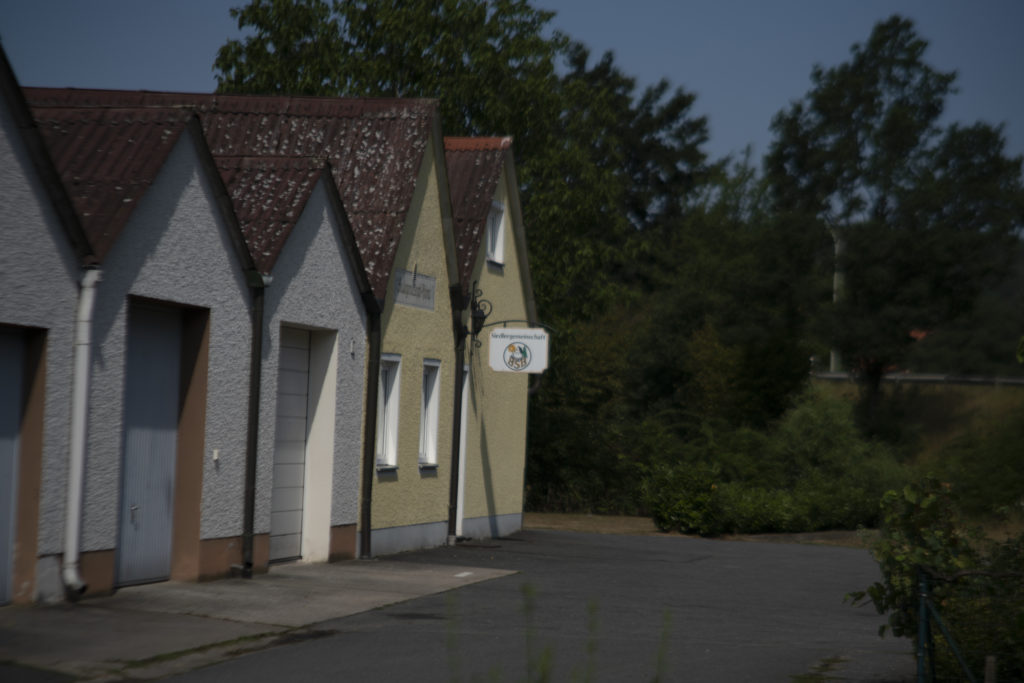
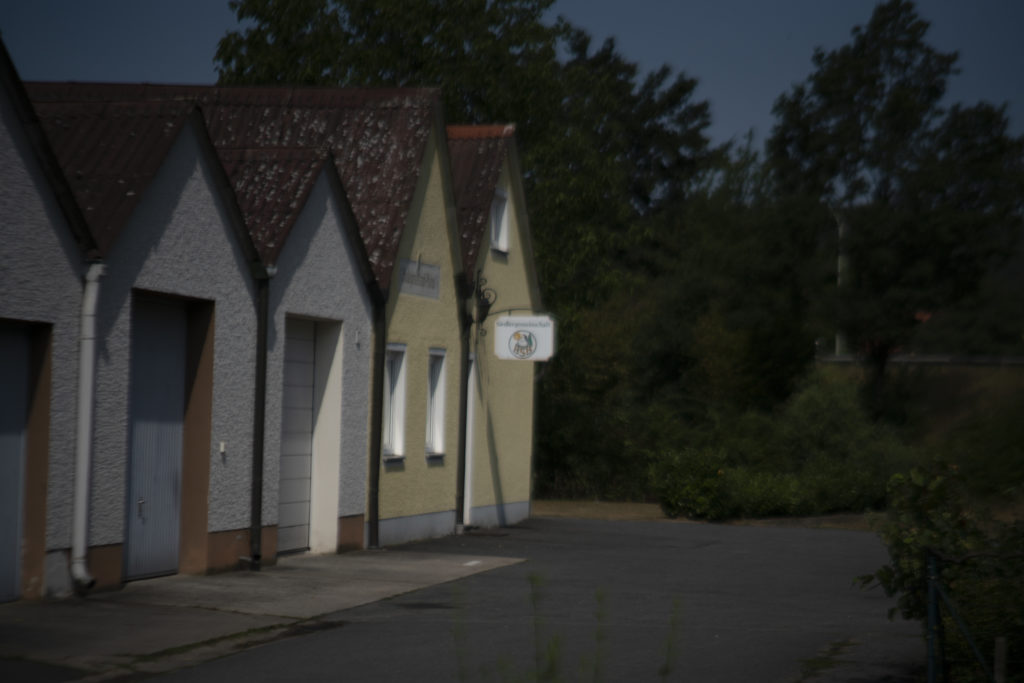
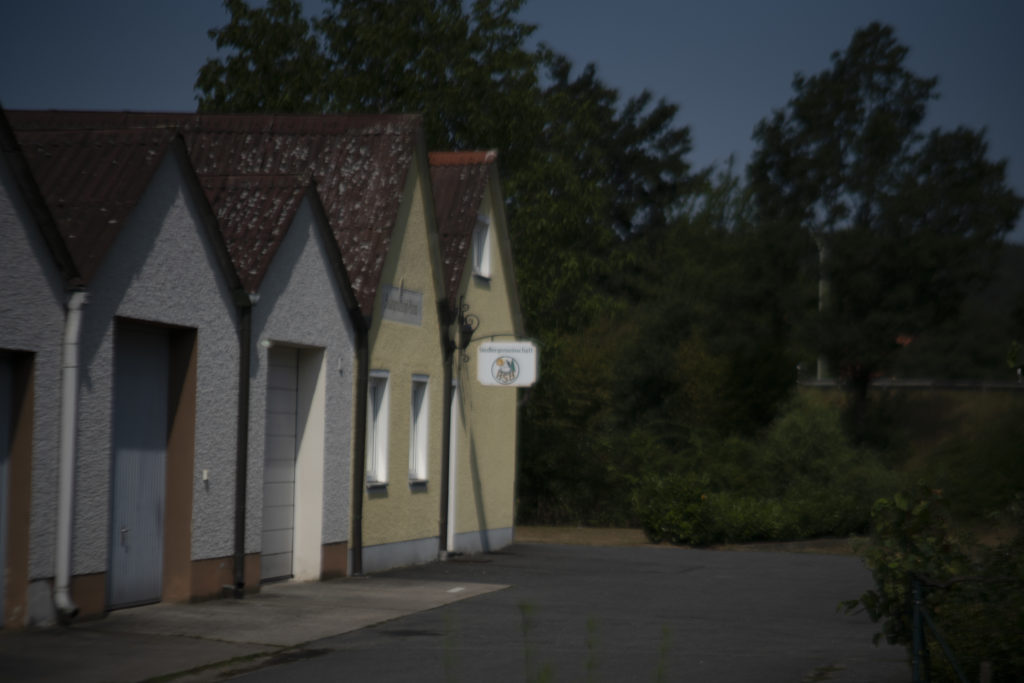
At longer distances sharpness appears to drop at all apertures:
Notice the loss of sharpness in the distance
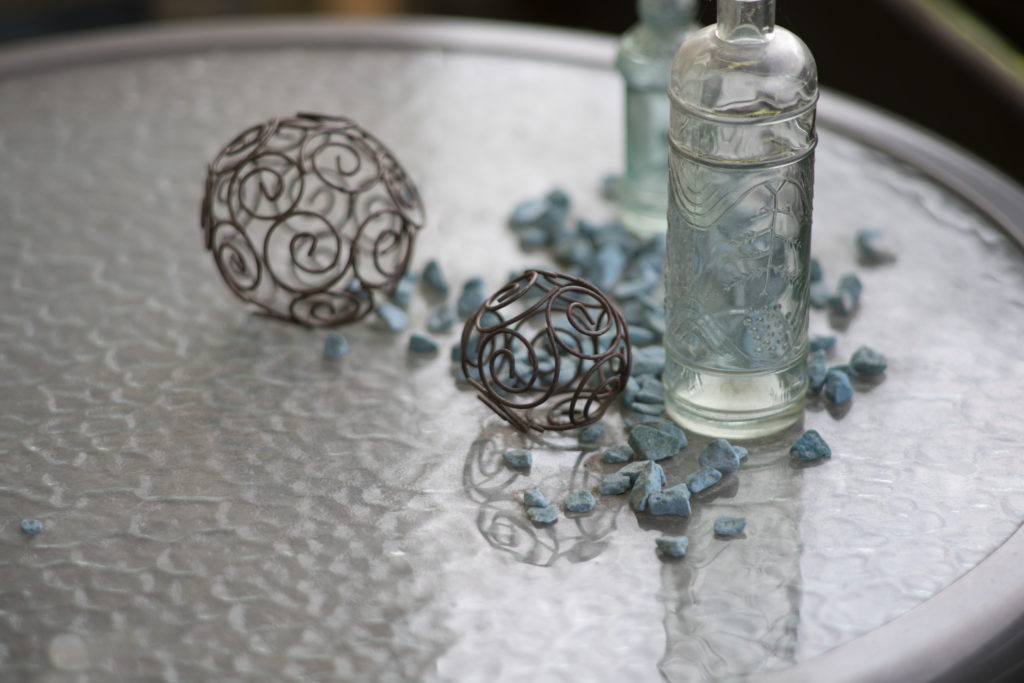
The quality of the out of focus areas is smooth, probably because the entire lens is blurry:
This is the full extent of this lens’s macro capabilities, but the bokeh is pleasing.
Chromatic aberrations are surprisingly low. Maybe they are hidden by the blur the lens, as well? The lens is very prone to flaring, but the integrated hood is quite deep and thus prevents it typically.
Verdict
This Auto Danubia Compact 135mm f/2.8 is the cheapest option for a 135mm f/2.8 lens I could find at the time. You can easily get it for under 10€. In fact, I’m selling mine right now.
Still you probably shouldn’t buy it. In my opinion, it’s unusable at anything faster than f/5.6, and it’s good at f/8 exclusively. If you are on a seriously tight budget and don’t mind stopping down this much, it might be an option. Otherwise I recommend saving up just a little more and get the Prakticar 135 f/2.8, which is much better at wider apertures.
If you are shooting analog and only look at “normal size” prints, get this, because you probably won’t notice the softness in most situations.