Considering how popular and powerful it is, I am surprised it took me this long to find this tool I never knew I needed: Bat is a powerful command-line utility that provides a modern and feature-rich alternative to the traditional Unix “cat” command. It also to a lesser degree can replace less/more.
Syntax highlighting
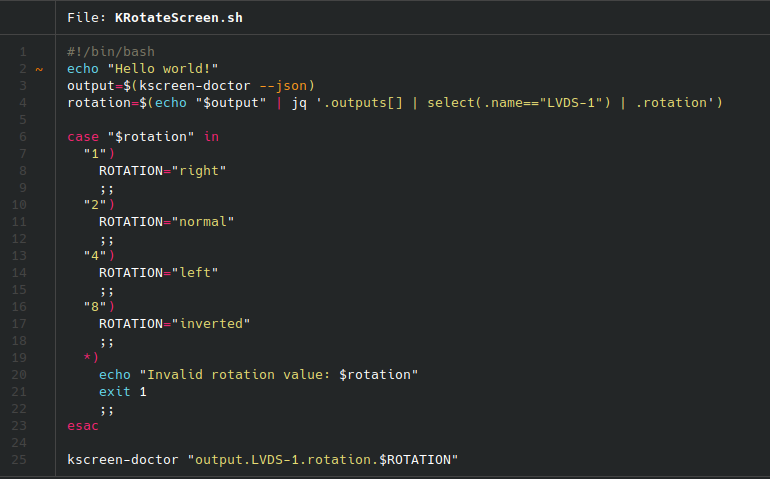
One of the headline features of Bat is syntax highlighting. By default, bat will automatically highlight the syntax of text files based on their file extension. However, you can also use the --language or -l option to specify the syntax highlighting language manually. For example, you can use bat -l python to highlight a Python script, or bat -l html to highlight an HTML file:
bat -l python script.pyIn practice though, the automatic detection (probably not based on magic since there is an option named --ignored-suffix?) has so far worked perfectly fine. You can use bat -L to view a list of all supported syntaxes.
Sensible defaults
That brings me to the other thing that bat does that to me is a huge time saver: It just works. Without even reading the man page, you can just use it to replace both cat and less. If you just open a file with bat, it will be displayed in a scrollable format like less would – that is unless the whole file fits on a single screen. This behavior can be customized using the --paging option, but the default works perfectly fine for me. If you pipe the output of bat somewhere else, it will just behave like cat. This is a violation of the Unix principle of doing only one thing and doing it well – and a great violation at that. The default style also just works but…
Styles
Bat supports styles which modify general behavior. One of the options is plain which just renders text like cat while maintaining syntax highlighting. Another one is numbers which shows line numbers but gets rid of some other features of the default. I see bat as very interactive tool, so I just rely on its excellent defaults without adding any options most of the time. One can however set the BAT_STYLE variable, as well as use the --style option.
Themes
Bat supports themes: --list-themes lists them and BAT_THEME or --theme sets them. Unless you are into ricing, you can probably ignore them though.
Ranges
Bat has also pretty much replaces head and tail for interactive use for me. By using the -r option one can easily get any section of a file without piping or remembering multiple options or commands:
'-r 30:40' prints lines 30 to 40
'-r :40' prints lines 1 to 40
'-r 40:' prints lines 40 to the end of the file
'-r 40' only prints line 40
'-r 30:+10' prints lines 30 to 40
Git integration
This is another feature I love – bat automatically recognizes when a file is part of a git repo and will highlight changed lines!
Such a time saver!
Miscellaneous bat features
Bat has a number of further features that you can learn about from the man page. However there are a few more I want to briefly mention:
- -A prints all characters visibly, even whitespaces.
- -H highlights a block of text with the same syntax as -r.
- -p is an alias for the plain style.
- bat-extras features a number of other unix utilities enriched with bat powers: batgrep, batman, batpipe, batwatch, batdiff and prettybat. Definitely check these out as well.
How to install bat and conclusion
Arch
sudo pacman -S bat bat-extrasUbuntu/Debian
sudo apt install bat-catOthers
Follow instruction here: https://github.com/eth-p/bat-extras/tree/master
I’ve added this tool to my UNIX essentials, that I need to have installed on every device.