Category: Open Source

  • Is Findroid the better Jellyfin streaming App?

    Is Findroid the better Jellyfin streaming App?

    After using an Nvidia Jetson Nano 4GB with LineageOS for a while as my Open Source Android TV box I noticed some issues with HDR streaming at high bitrates. Despite the serverside encoding working fine, the streams sometimes were unstable, breaking off after a few seconds. I decided to try direct streaming with VLC over SMB as well as with Kodi, but both of them had different issues with correctly displaying HDR. I ended up solving the issue using Findroid, an alternative Jellyfin client for Android. Can it replace the Jellyfin App on a TV?

    Findroid screenshot

    Easy setup

    Findroid is available on F-Droid, so the install was unproblematic on my degoogled Android box. On my phone running Graphene OS, I received an error toast on F-Droid, but it did install fine. It is also available on Google Play though, as well as on GitHub. The setup was fairly easy as well, just log in, no extra steps needed. It also supports the Jellyfin “Quick Connect” feature. That means that you won’t have to type the password manually with the on-screen or separately attached keyboard which is nice especially for TV.

    Usability issues on TV

    With my moderately sized Video collection, browsing performance seems to be similar to the Jellyfin TV app. Opening a collection is fairly quick. There are a few minor visual glitches I noticed though. However the biggest usability issue by far is the remote control when using it on TV: The directional keys often do not lead to the elements in the UI that you would expect. As is not uncommon for material design, the element you are currently highlighting is not always obvious. Clearly Findroid is not optimized for TV use yet, as the developer mentions on the GitHub README. It is however a planned feature, and the app is currently undergoing a rewrite, so there is hope.

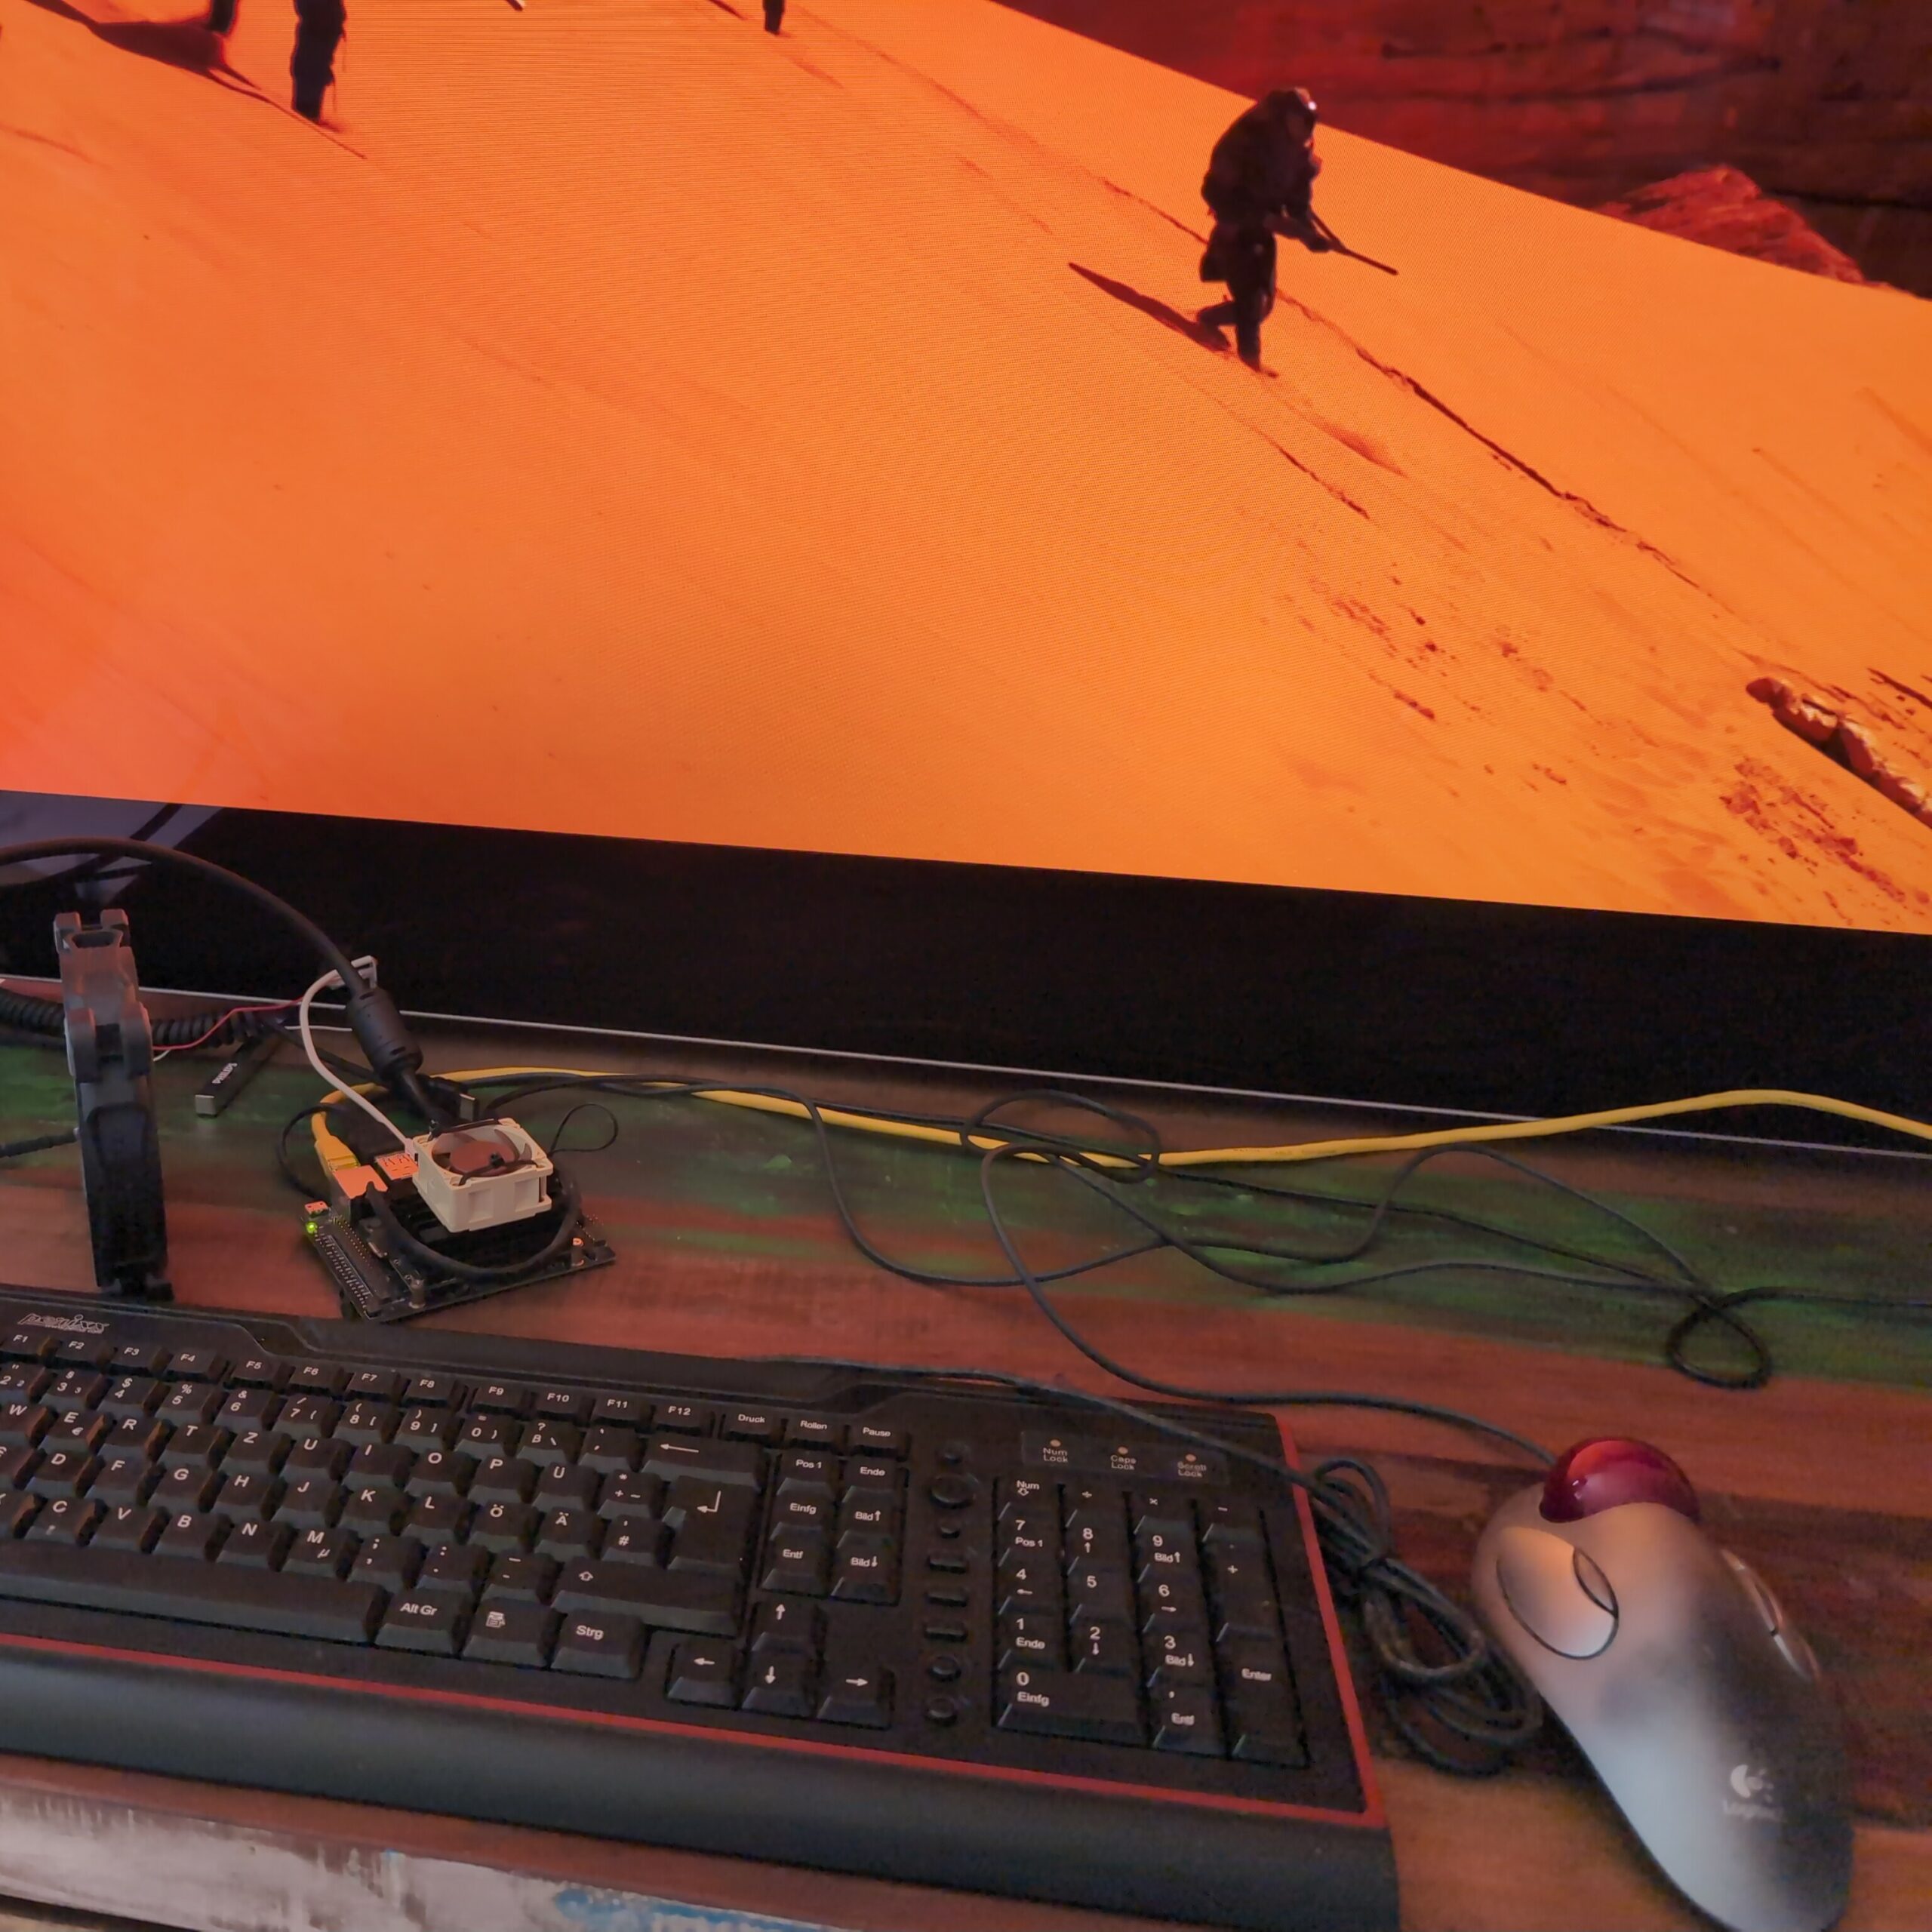
    With that being said, the interface is structured logically and shows all the information you would really need. It integrates well with Jellyfin’s features, like keeping track of which episodes you have watched. Searching and sorting work fine, and despite this app being optimized for mobile, it visually already works quite well on TV. I ended up using a mouse cursor to mitigate the usability issues, and with that it’s definitely usable. On mobile, with touch input, the usability issues are nonexistent.

    Findroid explicitly only supports direct streaming – no transcoding. It somehow also does that better than any other app I have tried. In my case that means that there is a short few seconds of buffering when opening a very large video file, but after that, it streams perfectly, no stuttering or issues with HDR and of course with perfect quality.

    Findroid: Conclusion

    So is this the better Jellyfin App? Not really, but I’ll still be using it on my TV.

    Which one is better depends on the situation. If you have access to a mouse, or a similar solution, Findroid is technically better for local streaming. That is especially true, if you are having issues with HDR for instance. It works even better on phones.

    However, when streaming over the internet or a VPN, you’ll probably want transcoding, and that is where you will want to use the official app. If you don’t have any issues with that app or don’t need HDR, it will also work better on TVs in general.

  • Low Resolution AV1 Encoding

    Low Resolution AV1 Encoding

    AV1 encoding allows for video files to be stored and streamed at much higher quality for the same file size or at a much smaller file size with the same quality compared to older codecs such as H.264, HEVC, and VP9. A lot has been written about its potential for streaming HD and higher-resolution video, but as a fan of both self-hosting and offline files, I also see use cases for lower resolutions. For example, I am interested in how much less storage I need to take a number of movies offline with me on my phone.

    After some experimentation, I have settled on good-quality 480p as the minimum resolution for an enjoyable movie-watching experience on a 6-inch phone display—that is about DVD resolution. The next challenge was to find the optimal parameters for encoding the video files to ensure sufficient quality at the smallest possible file size.

    The Experiment

    For my experiment, I decided to use my RTX 40-series graphics card’s NVENC encoder at the default “p4,” fast “p1,” and highest quality “p7” presets. This should be representative of what I would do for real-world low-resolution AV1 encoding of movies to take with me. CPU encoding might yield even higher quality, but it would likely be dramatically slower (although I haven’t yet tested the exact difference).

    As a test sample, I’m using a snippet of one of my favorite movies, Children of Men. The input file is H.264-encoded, 1080p24 resolution, and the video bitrate hovers between 3 and 5 Mbit/s—so the quality is “fine” but not great. My goal is to achieve comparable subjective quality at a lower resolution and on a smaller screen with the lowest possible bitrate in AV1.

    I’m using variations of the following script to crop out a scene from the input file, re-encode it with AV1, and then extract a screenshot at every CQ value. I’m running it once with each preset.

    #!/bin/bash
    
    ffmpeg -hwaccel cuda -ss 570 -i "Children of Men.mp4" -t 60 -c:v copy -c:a copy temp_snippet.mp4
    
    for cq in {0..51}; do
        ffmpeg -hwaccel cuda -i temp_snippet.mp4 -vf "scale=-2:480" -c:v av1_nvenc -b:v 0 -map 0:v:0 -preset p4 -cq ${cq} output4_cq${cq}.mkv
        ffmpeg -hwaccel cuda -i output4_cq${cq}.mkv -ss 00:00:30 -vframes 1 screenshot4_cq${cq}.png
    done
    
    rm temp_snippet.mp4

    Since encoding quality is subjective and the ideal settings vary based on the content of the video, you should use this as a guideline for your own tests. I’m trying to address the lack of data specifically for low-resolution AV1 encoding. Adjust the variables to your needs and preferences.

    The Results

    The input file is 2.9GB for 110 minutes of runtime, averaging 26MB per minute of video. 480p has only 14% of the number of pixels per frame compared to 1080p. Thus, I’m excluding all results where the output file of the one-minute clip is larger than 14% of 26MB. That is 3.6MB—anything larger is completely pointless. I will address the p1 and p4 results here; p7 is still fast with NVENC and will yield the best results.

    Fastest Preset Results

    At preset 1, the highest quality file that just barely stays under this threshold was encoded at CQ37:

    Unsurprisingly, it looks basically as good as the source, minus the resolution.
    Unsurprisingly, it looks basically as good as the source, minus the resolution.

    You can save 50% of the original storage at CQ44:

    The result is noticeably softer—look at Jasper's hair. To my taste, this is a bit too soft, even on a small screen.
    The result is noticeably softer—look at Jasper’s hair. To my taste, this is a bit too soft, even on a small screen.

    I found that at p1, I would only want to go down to about CQ39 before quality drops too much:

    In motion, this looks close enough to the source to be acceptable to me.
    In motion, this looks close enough to the source to be acceptable to me.

    At these settings, you only save about 23% of storage. That is not really enough for me to bother with re-encoding the movies I want to take with me. Even though the encode is extremely fast, I would only do this if I was in a hurry. In that case, I would just scale the source down, which is even faster.

    Default Preset Results

    At p4 and CQ37, quality looks about the same as the source—unsurprisingly:

    Basically perfect sharpness and motion.
    Basically perfect sharpness and motion.

    What’s much more interesting is the result for CQ44:

    Sharpness is way better than CQ44 at p1 and still just about good enough for me to use for low-quality AV1 encoding.
    Sharpness is way better than CQ44 at p1 and still just about good enough for me to use for low-quality AV1 encoding.

    Some blocking and banding become more visible at this bitrate since sharpness is so much better. It doesn’t show up too much in the screenshot but is slightly visible in motion on flat-colored surfaces. One example is Jasper’s black shirt.

    Still, at this setting, you save about 50% of storage, which is significant. This looks almost as good to me as CQ39 at p1.

    Going any further with the CQ setting results in a rapid loss of quality.

    Slowest Preset Results

    The p7 results will be the most interesting. In practice, I probably wouldn’t mind encoding at this preset since it’s still fast enough—that is, if it yields even better results than p4.

    Going right into CQ44, the result is only slightly sharper than at p4, but the blocking is also reduced. There is a little more detail in the dark shirt.
    Going right into CQ44, the result is only slightly sharper than at p4, but the blocking is also reduced. There is a little more detail in the dark shirt.
    Unfortunately, I found that while sharpness is preserved better at p7 at higher CQ values, the blocking increases quickly. Even at CQ45, it's visibly stronger.
    Unfortunately, I found that while sharpness is preserved better at p7 at higher CQ values, the blocking increases quickly. Even at CQ45, it’s visibly stronger.

    However! This blocking is only very noticeable in stills and when comparing side by side with lower CQ values. In motion, I found it to be much less of a distraction than a blurry picture.

    I found CQ47 to be tolerable in motion. Thus, this is the perfect balance for low-resolution AV1 encoding of movies. Using that as a baseline, I re-encoded the entire movie and tested if it held up in faster-paced scenes on my phone. And it did!
    I found CQ47 to be tolerable in motion. Thus, this is the perfect balance for low-resolution AV1 encoding of movies. Using that as a baseline, I re-encoded the entire movie and tested if it held up in faster-paced scenes on my phone. And it did!

    Conclusion: Low-Resolution AV1 Encoding

    The resulting movie is almost one-third the file size of the H.264-encoded source (but downscaled). In a direct comparison, it is noticeably, but acceptably, softer. I find the blocking to be basically unnoticeable in motion and on the small screen. The bitrate is a tiny 210 kbit/s on average. I also found that a modern GPU can comfortably encode AV1 at 480p at nearly 1000 FPS. That is fast enough that there is no justification to use anything but p7, even if the difference compared to p4 is fairly modest.

  • Replacing the Nvidia SHIELD TV Pro with FOSS Android TV

    Replacing the Nvidia SHIELD TV Pro with FOSS Android TV

    It’s no secret that Android Smart TVs suck, or rather that their smart features are poorly implemented. They are usually powered by bottom of the barrel hardware. They are stuffed full of proprietary software. And they stop receiving updates and security patches long before the lifetime of the actual TV is over.

    That more or less forces a security conscious user to air gap and replace them, if they still wish to use basic smart features on their TV. That’s what I did to my 5 year old Philips OLED and I decided on the Nvidia SHIELD TV Pro, based on positive reviews online. My overall experience has been positive: Performance is good and I’m getting more updates. It also comes with better features like a good remote and AI upscaling.

    Alas it’s still liable to be discontinued well before I plan on replacing my actual TV, and before the hardware itself is obsolete. Also the OS is still beholden to the manufacturer and not the owner. Google has started implementing more and more aggressive ads right on the home screen. The entire OS sends telemetry to various vendors. And of course, you can never even know what it’s actually even doing: It runs constantly in a standby mode, the code can’t be audited by the user and it even has a microphone in the remote.

    A better, more long-term solution

    My criteria are:

    • Needs to be able to run 4k HDR at high 100+ mbit/s bitrates smoothly.
    • Needs to be able to stream comfortably from Jellyfin.
    • No spying.
    • Software should remain updatable for at least 3 more years.
    • Youtube should work.
    • Some kind of remote control.
    • Affordable.
    • Similarly low power draw.

    My first thought was Kodi, likely on a Raspberry Pi, or alternatively a mini multimedia PC. Some research revealed that a Pi 5 could likely barely handle my performance requirements, but not perfectly either. Cost wise both options could be had for under 100€, and both would have excellent long term viability. However, why pay any money, if I already have possible solution sitting in my drawer: An unused Jetson Nano 4GB, running on a Tegra X1 SoC similar to my Shield TV Pro and a Nintendo Switch with its standout feature being a fairly competent GPU.

    Nvidia pretty much abandoned the Jetson Nano. Up-to-date Linux options are limited, and the available kernels are very outdated. The CUDA SDK that is required for programming its GPU doesn’t support it anymore. OpenCL on the GPU doesn’t work either. With these factors in mind I didn’t have much use for it anymore – until now. Luckily there is a port of Android TV, specifically LineageOS available and up-to-date, so decided to install it.

    Installing Android TV

    I decided on a plain install without GApps. For my network connection I used Ethernet, though WiFi should work with a dongle, a wired connection should be a bit more reliable and faster. Next, I sideloaded F-Droid with adb and installed the Aurora Store. I installed the YouTube App and the Jellyfin client, Termux, VLC and a web browser. I did all that with a keyboard and mouse connected, but both my TV Remote and my Logitech Harmony Hub phone app worked perfectly out of the box via HDMI CEC.

    Testing

    At first, I noticed HDR being flaky in Jellyfin. It turns out that the auto bitrate adjustment picked a value that was too low for HDR. I set it manually to the highest limit and it has been working fine since. I also had issues with some files stuttering. That I could easily resolve by switching Jellyfin to using libVLC rather than ExoPlayer. Next there were some audio issues, such as muffled sound or none at all for certain video files. I fixed it by changing the settings to always down-mix 5.1 to stereo which is what I’m using anyway. I also enabled bitstreaming DTS.

    My test setup playing Dune in 4K HDR.

    Further testing revealed that YouTube still failed to stream HDR. I’ve been unable to find a solution for that as of yet, but this one I can live with. I also noticed that the Fan I had attached to the Jetson didn’t want to spin, so I removed it. This indicated to me that the Board was running in its default, more efficient mode and not the significantly faster MaxP mode. I didn’t quickly find a way of changing that, but since performance is smooth all the way, I don’t feel the need to use more electricity anyway.

    Comparison to SHIELD TV Pro

    You definitely lose some features compared to using a Shield TV Pro, the big ones to me being:

    • AI upscaling (I can live without but it is a loss, maybe some day it will be added to Jellyfin serverside)
    • YouTube HDR (likely fixable)
    • Chromecast (Could be added with GApps, but since YouTube device linking still works the main reason I would want to cast is covered)

    The standby power consumption will also be likely higher, since as of now I haven’t found a way yet to get the Jetson to sleep. Likely Kodi would also have trouble with convenient sleep handling as well, though I didn’t test it. You’ll likely want to hide your Jetson as well, since it just doesn’t look as sexy as a SHIELD.

    What you do gain though is privacy, security and flexibility. I also enjoy having four more USB Ports to charge my controllers.

    Should you get a Jetson Nano instead of a SHIELD for Android TV?

    Its final resting place, glued behind my TV.

    Probably not. If you already have one, this is a great use for it. The entire setup took me a couple of hours, but in the end it works nearly as well as the SHIELD while being way more private and secure. If you don’t already have one though, you should probably do more research and consider a Raspberry Pi 5 or a multimedia mini-PC with Kodi or even Android TV first. While it’s hard for me to say whether they will provide a better experience overall, they will definitely have a longer remaining lifespan due to them being so much more popular.

    2025 Update

    As of 2025 I am still using this setup, however I have since installed a small Noctua fan to the Jetson since it was running fairly hot, and I have partially switched to Findroid to mitigate some HDR streaming issues I was having with other apps.

  • Used Hard Drives are incredibly cheap – use them safely with ZFS

    Used Hard Drives are incredibly cheap – use them safely with ZFS

    In late 2023 we live in an era of super cheap storage. Be it flash based or spinning rust, they can be regularly had for 30€ and 13€ per TB respectively. Just a few years ago you had pick very specific high density (for the time) disks to get under 20€ per TB. This isn’t necessarily practical if you only need moderate amounts of storage but want good redundancy. The true budget option is used magnetic storage, going for well under 3€ per TB. But how can you safely make use of worn, old disks? That’s where ZFS comes into play.

    Used HDD pricing in 2023

    The idea of using smaller used disks with high redundancy comes from the dramatic savings that can be achieved. I have seen several lots of 10-40 disks priced as low as 2.50€/TB. Now, using this many disks at once is somewhat impractical, even with high redundancy and (hot-)spares. But ironically, selling a part of such a lot as individual disks will increase their value, since most people don’t want the hassle of buying this many disks. Although individual disks (of this specific type) can go for similarly low prices, they can also go for up to 15€. Either way you would want to keep some spares.

    Reliability and redundancy with ZFS

    Now the reason why people are reluctant to buy used HDDs is due their limited lifetimes. Being mechanical in nature they will die eventually. Especially these super cheap lots of enterprise disks will have had a hard life with extremely high runtime in data centers. However:

    • These lots usually advertise their disks as 100% health.
    • They are enterprise grade and designed for very high uptime and high reliability
    • HDDs have come a long way. Even these older models are likely to be much more reliable than the ones that caused HDDs’ reputation for high failure rates.

    With that being said you will want to plan for failing disks, data corruption and bit rot. You should do that for any kind of storage, but for used Hard Drives especially. And the best system that gives you both redundancy and corruption resilience at home is ZFS. ZFS is a file system with native support for RAID, or replication of data across multiple disks through parity data. Unlike traditional RAID systems, however it also provides resiliency against bit rot.

    Bit rot is the degradation and corruption of data that can occur on many media. It can have many causes, but basically this phenomenon means that any storage media over time will lose and corrupt data and the only protection against that is parity and a system that can repair data from that parity. Traditional RAID will protect against failing hard disks, but it has no way of knowing which bits may have rotted or not. ZFS does that.

    How does it work?

    There are already many good ZFS tutorials out there, but to keep it theoretical, for very good resilience with used disks you may want to use RAIDZ3, meaning having the capacity of 3 disks as redundancy. If you had two four-port SAS-controllers (which can be had for well under 5€ each) you might have eight disks connected and keep two as cold spares. You could sell off the rest of the lot or keep it for future expansion. The ZFS calculator suggests you would then have 12TB of usable capacity, with cold spares and very high reliability for under 40€ all in. Sounds like a good deal to me.

    ZFS is an enterprise-grade file system can help you build a super reliable home storage solution on a tiny budget.
  • Shell-AI: Integrate GPT into your command line

    Shell-AI: Integrate GPT into your command line

    I am currently evaluating a number of ways of integrating large language models into my Linux command line. Shell-AI (shai) is one of the easier ones to set up. With Shell-AI, you can simply input your intent in plain English (or other supported languages), and it will suggest single-line commands that achieve your desired outcome. It is designed to work on Linux, macOS, and Windows, though I only tested it on Linux. It’s backed by OpenAI’s GPT LLM – which is problematic for a number of reasons but also means the overall quality of the responses is cutting edge.

    Features

    • Natural Language Input: Describe what you want to do in plain English (or other supported languages).
    • Command Suggestions: Get single-line command suggestions that accomplish what you asked for. Select a suggestion, dismiss or regenerate in-place.
    • Cross-Platform: Works on Linux, macOS, and Windows.

    Shell-AI result quality

    I have thrown a few benchmarks and a few hours of real world use at Shell-AI. As expected, the LLM component, being based by default on gpt-3.5-turbo (although any OpenAI model can be configured) is top notch. Indeed shai was able to answer most of the questions I would usually have had to Google with reasonable solutions. It also saves time by avoiding the need for copy-pasting and context switching. The surrounding implementation that wraps the GPT-API is decent as well, providing multiple options and making it easy to select one. It asks for confirmation before executing each command. However, it doesn’t feature a built-in option to ask for clarification. For instance, quite often the output will feature a command chain that may be hard to understand. An option to ask GPT for an explanation would be nice, since Shell-AI’s output strips out any of the standard GPT fluff around the actual one-liner code. This means that I found Shell-AI to be a terrible tool for learning and a quite risky one to use at that.

    OpenAI Backend issues

    Shell-AI uses OpenAI’s GPT AI as a backend. That means:

    • You have to have an API key and pay for each call.
    • You need to be online at all times.
    • There are very serious privacy concerns despite shai itself being FOSS.
    • Response times are kinda slow, reducing the overall time-saving effect. With gpt-3.5-turbo which is supposed to be the fastest current option, response time is around 8 seconds. You can choose other models, but they will be even slower and the quality gains aren’t really relevant.

    Conclusion

    While Shell-AI is mildly interesting and it can save time significantly in some situations, I won’t be keeping it around. The main issue for me is privacy, but the poor performance limits overall usefulness as well.

  • Signal backup: How to fix crashes when restoring

    Signal backup: How to fix crashes when restoring

    Signal is the go free and open source messenger app for privacy conscious people, but it there are some issues and limitations. One criticism is that it doesn’t integrate its backup system well with cloud storage. For instance, WhatsApp will more easily allow you to store backups on Google Drive. Apart from that, usage of the Signal backup restore function is not particularly well explained and crashes are very common due to a fairly simple issue. I went down the rabbit hole to analyze the root cause.

    When moving to a different device or freshly setting up an existing one, you probably want to keep your chat history. I had that use case recently, when I installed GrapheneOS on my Pixel 6. A while beforehand I had already heard from a friend that restoring a Signal backup is buggy. They were experiencing crashes and had to give up on restoring their old messages, since backups can only be restored when newly setting up the app. Later on, restoring isn’t possible. There is also a feature to directly transfer chat history from one device to another, but that also didn’t work for them and wasn’t even an option for me, since I was using only a single device.

    What’s the issue?

    Backups can be enabled and scheduled in the Signal settings. When you first do that you’ll get a 30-digit passphrase that you will need to restore the backup. Once that is done two Signal backups will always be available in the specified directory. When you want to restore them, you have to newly install Signal on the respective device. Next choose the restore option and the file. Enter your passphrase and confirm. If it works, it should be pretty quick. When I finally got it to work, it only took about 3 minutes to restore a 5GB backup including all media. The problem is that for me and a lot of users, the app just crashes after a few moments.

    So why does this happen?

    Signal is open source, so it’s possible to just debug the code to find the cause. Also researching online will yield multiple user reports about this happening. And finally you can look at the logcat of the app. On the first startup screen of a newly installed Signal app, you can also just tap the icon about ten times. That will show you the app logs. If you do that after experiencing such a crash, there will be one of two exceptions with relevant stack traces. One indicates a negative array length being used when initializing an array. The other one being an out of memory error. There is a third possibility to that will probably result in an ArrayIndexOutOfBoundsException, however I haven’t been able to observe this since it’s rare.

    Looking at the relevant code, you can see that Signal stores the backed up data in multiple chunks, but in a single file. However when decrypting the backup, the app doesn’t even know how large each chunk is. That information is also encrypted inside the backup file. Later that information is used to allocate a buffer. If that buffer is thus too large or the size is negative the app will crash. The third option can happen when the decrypted buffer size is reasonable, but the restoration process will still fail.

    What causes the buffer size to have such random values?

    Well apparently the app (currently) has no way of checking whether the passphrase you enter for decryption is correct. Because of this, it will simply decrypt it even with an incorrect passphrase and take the value as a number from where the chunk size (=buffer size) WOULD be if the file was decrypted correctly. That’s why entering different wrong passphrases can yield different stack traces. So yeah, that’s it. If Signal crashes for you when restoring a Signal backup, you’re probably entering a wrong passphrase.

    And that’s indeed what I and some other users were doing. I was entering my Signal PIN, another user was entering an old passphrase. The UI IMO does not give sufficient information or a reminder to a user that a 30 digit passphrase needs to be entered. Thus, there are two issues: First are the crashes when entering a wrong phrase, due to insufficient error handling and because Signal doesn’t know the chunk size at that time. Second, the UX is very imperfect, possibly causing users to enter the wrong value.

    How can the Signal backup functionality be fixed?

    I proposed these improvements be made to solve this issue:

    1. The text should be adjusted to remind the user that the 30-digit backup passphrase is required. I forgot this, and many users will forget it, thus entering the Signal PIN or something else, causing confusion.
    2. The error should be caught properly. If the chunk size is unreasonable, immediately display a message stating that the passphrase isn’t correct, or just catch any exception with a reasonable message. This would be a quick fix to prevent crashes and confusion.
    3. When activating backups the passphrase is shown. IIRC you just have to check a box that you wrote it down. I think it would be better to have the user write it back. Maybe using words would be more memorable, too. Given the number of people who are reporting here, a lot of users may have forgotten the passphrase, so UX improvements may be necessary.
    4. Review if it makes sense or is necessary to even encrypt the chunk size. Can it not be in plain in the file header or be a fixed value?
    5. It should be more clear how to change the passphrase. When I switch my phone I may remember to check if I have a recent backup and look at the Chat Backup menu. If I then realize I don’t have the passphrase anymore, it’s not immediately clear how to proceed.

    At least I had fun debugging…

  • Boost your command-line productivity with fasd

    Boost your command-line productivity with fasd

    Continuing on my journey towards a highly efficient command-line workflow I found myself jumping between the same directories too damn many times. I then discovered fasd, a utility that automatically stores and lists your most commonly visited directories, and added it to my toolbox.

    What is fasd?

    fasd is essentially to an automated command-line bookmark system. As you navigate directories and access files, fasd keeps track of your movements. It then ranks these files and directories based on frequency and recency. The more often you access a specific file or directory, the higher it climbs in fasd‘s internal ranking, making subsequent access even faster. It should work on any unix-like system (Linux, Mac, BSD).

    Installation and Initialization

    Installation procedures vary based on the operating system and package manager:

    • Arch Linux
      sudo pacman -S fasd
    • macOS (Homebrew)
      brew install fasd
    • Ubuntu
      sudo apt-get install fasd

    Post-installation, add fasd to your shell initialization script:

    eval "$(fasd --init auto)"

    For bash users, this would go into .bashrc. If you’re using zsh, then you should place it in.zshrc. Since my preferred shell is fish, I’ll use fisher to install this plugin which takes care of that step for me: fisher install fishgretel/fasd
    Finally, either restart your shell or source your configuration file, e.g., source ~/.bashrc.

    Aliases & Usage

    The magic of fasd begins truly when you introduce some aliases. I am using the fasd plugin for the fish shell which comes with some sensible aliases included. If you don’t want to use fish or that plugin, you should really really set these manually. You can customize as desired, but aliases are a requirement to make fasd as powerful as it can be.

    alias a="fasd -a"        # any
    alias s="fasd -si"       # show / search / select
    alias d="fasd -d"        # directory
    alias f="fasd -f"        # file
    alias sd="fasd -sid"     # interactive directory selection
    alias sf="fasd -sif"     # interactive file selection
    alias z="fasd_cd -d"     # cd, same functionality as j in autojump
    alias zz="fasd_cd -d -i" # cd with interactive selection

    Fasd in practice

    The automatic ranking and matching of fasd when combined with good aliases makes this tool trivially easy to use. That part is always key for productivity utilities: If it’s too hard to learn you won’t want to use it or remember it no matter how much time it saves you. And this one can really save you time. Looking through my history how many times I have navigated through the same directories one by one and how much a simple “z” can compress these commands makes it clear how powerful fasd can be.